
How to Create Stunning Easter Fingernail Art
As Easter approaches, fashion enthusiasts and festive celebrants alike start looking for ways to express their holiday spirit through their style. One creative and fun way to do this is through Easter fingernail art. This guide will walk you through everything you need to know to create stunning Easter-themed designs on your nails, ensuring you have the most eye-catching fingertips at any Easter gathering.
Introduction to Easter Fingernail Art
Easter fingernail art is a delightful way to celebrate the season of renewal and joy. Whether you prefer subtle pastels or vibrant patterns, incorporating Easter themes into your nail art can add a playful touch to your overall look. This guide will provide you with detailed steps and tips to achieve beautiful and intricate designs that reflect the spirit of Easter. You Can Also Read This How Javariya is Revolutionizing Traditional Practices: Unveiling the Essence
Preparing Your Nails
Materials Needed
Before you begin, ensure you have the following items:
- Nail polish remover
- Cotton pads
- Nail clippers
- Nail file
- Cuticle pusher
- Base coat
- Nail polishes (various colors)
- Top coat
- Thin brush or nail art pen
- Optional: stickers, rhinestones, glitter
Nail Preparation Steps
- Clean and Shape Your Nails: Use nail polish remover to clean your nails of any old polish. Clip your nails to the desired length and shape them using a nail file.
- Care for Your Cuticles: Push back your cuticles gently with a cuticle pusher. Avoid cutting your cuticles as this can lead to infections.
- Apply a Base Coat: Protect your nails and ensure a smooth canvas for your art by applying a base coat. Allow it to dry completely.
Basic Easter Fingernail Art Techniques
Choosing Colors and Themes
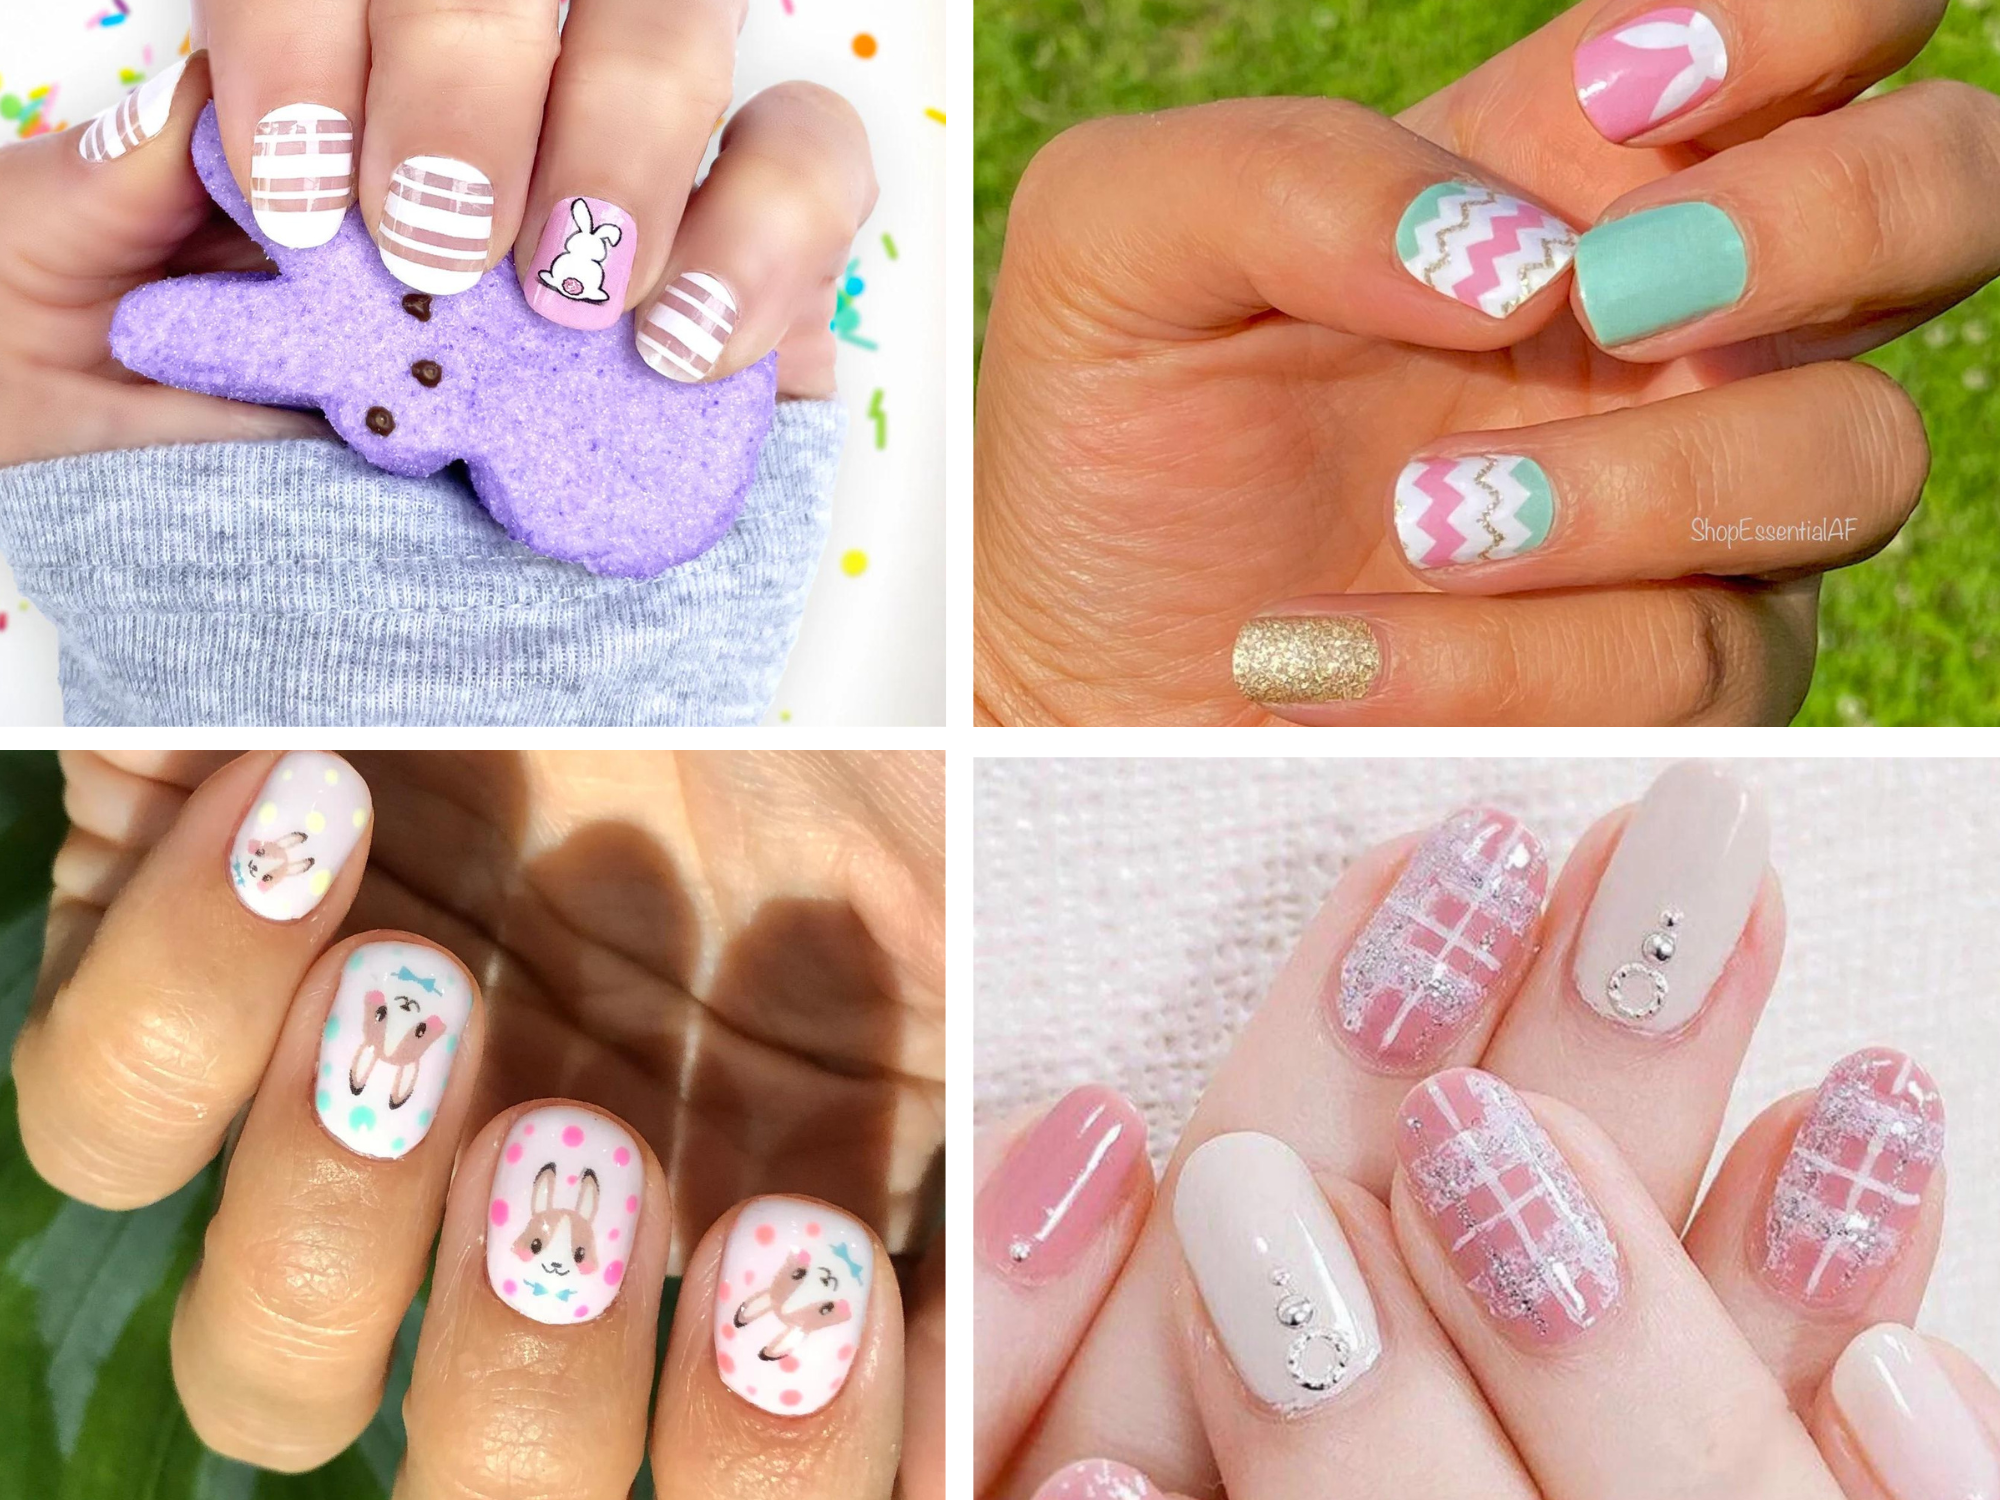
Select colors that typically represent Easter—pastels like pink, sky blue, lavender, mint green, and lemon yellow are popular choices. You can also opt for designs that include Easter symbols such as bunnies, eggs, chicks, and flowers.
Step-by-Step Nail Art
- Simple Polka Dots: After applying your base color, use a thin brush to dot another color onto your nails. This can mimic the look of Easter eggs.
- Easter Bunny Design: Paint your nail a base color. Once dry, use a white polish to draw the outline of a bunny. Add details with a thinner brush or nail art pen.
- Floral Patterns: Choose a light base color and use vibrant colors to paint small flowers. A toothpick can be handy for intricate details like the center of the flowers.
Advanced Easter Fingernail Art Designs
For those who want to take their Easter fingernail art to the next level, consider these elaborate techniques:
Water Marble Technique
This technique involves dropping nail polish into a bowl of water to create a marble design. Dip your nails into the bowl to transfer the design.
Stamping Method
Use a stamping kit to imprint detailed designs onto your nails. This method is great for achieving precise patterns and intricate themes.
Using Accessories
Enhance your designs with stickers, rhinestones, and glitter. These can add texture and sparkle to your Easter fingernail art.
Maintaining Your Easter Fingernail Art
Tips for Long-lasting Wear
- Apply a top coat over your design to seal and protect it.
- Avoid using your nails as tools to prevent chipping.
- Touch up your nails with a thin layer of top coat every two days to maintain shine and durability.
Conclusion
Creating Easter fingernail art is a fun way to celebrate the season and show off your creativity. Whether you choose simple designs or intricate patterns, the key is to enjoy the process and embrace the festive spirit of Easter. With the right tools and techniques, you can achieve stunning and durable results that will be the highlight of your Easter celebrations.
With practice and patience, anyone can master the art of Easter fingernail art and create truly unique and festive designs that celebrate the season with style and flair. So grab your polishes, and let’s bring some Easter joy to your fingertips!
This article serves as a comprehensive guide, but the joy of nail art lies in experimentation. Feel free to mix and match designs, play with colors, and add your personal touch to make your Easter nails uniquely yours.